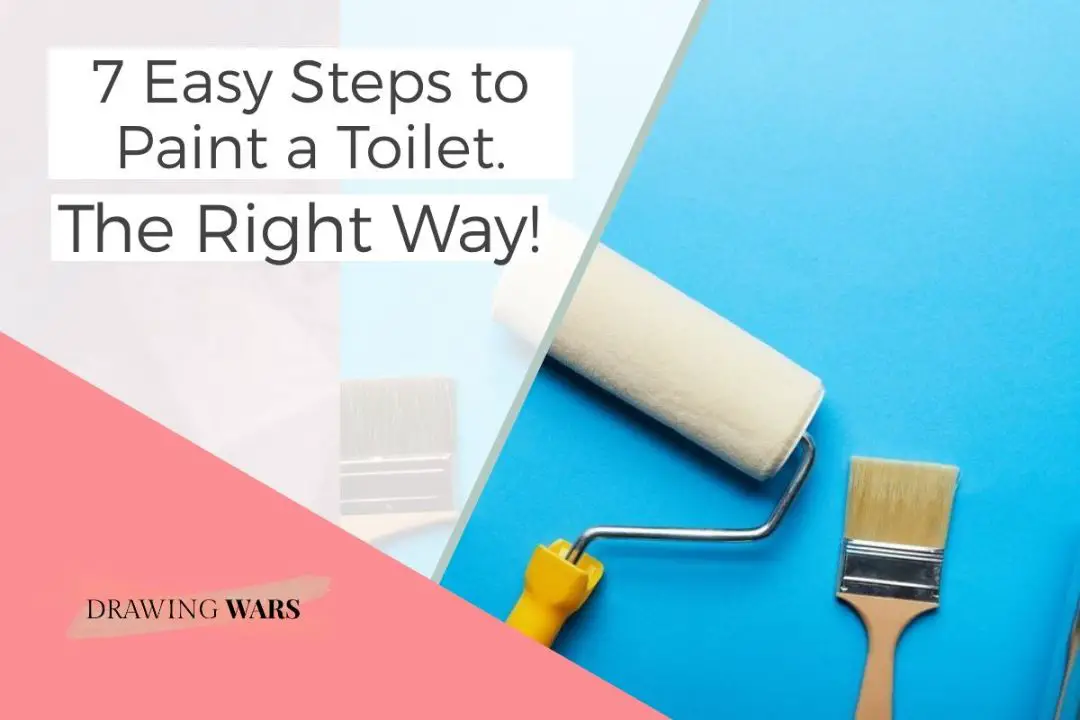
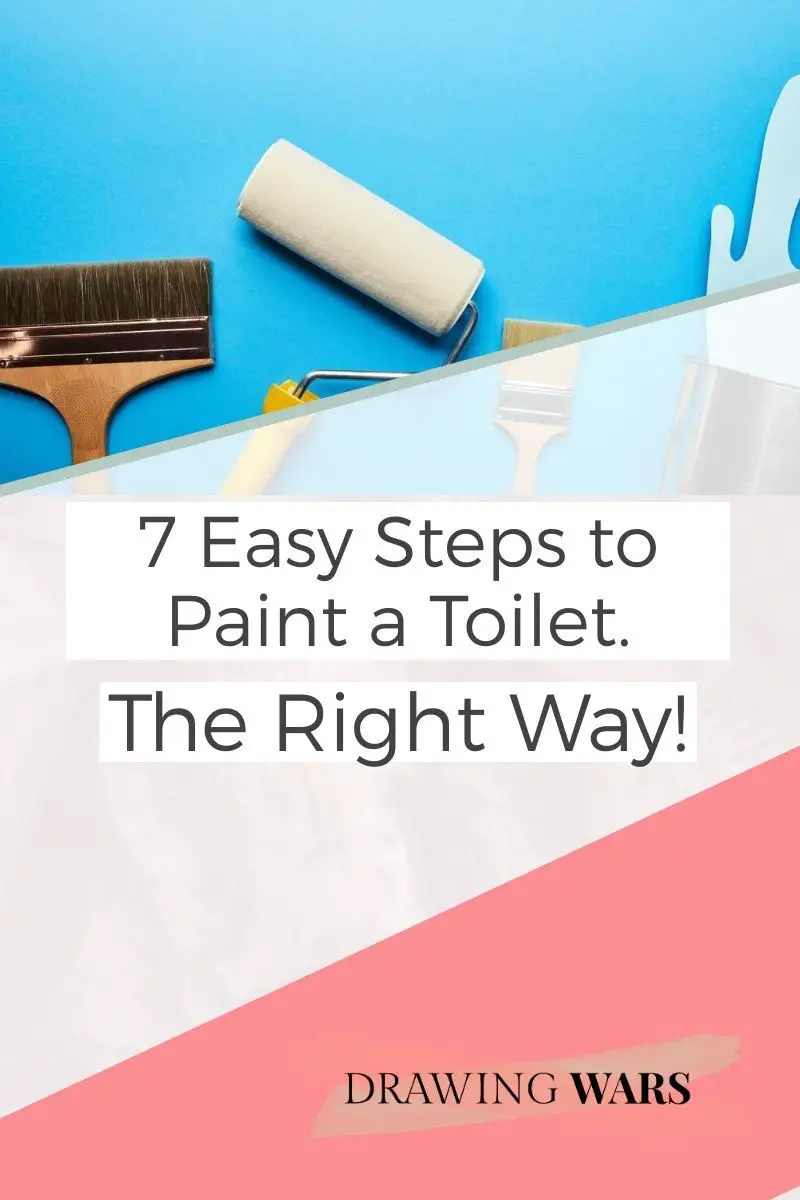
INTRODUCTION
If you’re looking to spruce up your bathroom or just want to renew your old toilet, then painting it is definitely a no-brainer. A remodeled toilet, either for aesthetic purposes or to fix any wear and tear, can turn around the whole look of a bathroom. However, it is important to go over the right way to paint a toilet. Keep reading for some easy 7 tips to do the job!
To paint a toilet easily and efficiently, you need to follow 7 steps. First and foremost, you need to clean your toilet and drain it of all water. Then, you sand the surface and apply a primer. Lastly, you can apply your paint. We recommend using an acrylic latex primer followed by using spray paint or epoxy paint and then apply the epoxy sealer.
THE BEST PAINT OPTIONS
These days, toilets are available in a vast array of styles and colors. While serving a practical purpose, a well-designed toilet can really make a difference to the aesthetic of a bathroom. The only problem is that some of these toilets are exceptionally expensive. However, another option to renew your toilet is to paint it!
Therefore, for DIYers such as yourself, we’ve compiled all the information you could possibly need for this intensive project so you could choose the best option available to you. There is a vast array of paint options that you can use for painting your toilet. First and foremost, we recommend using an acrylic latex primer.
Then comes the epoxy paint for the main coat. Epoxy paint is primarily used to touch up an old toilet or provide an additional topcoat for you to work on. However, this means that the options for epoxy paint are limited to only a few colors such as white, grey, and black.
If you’re not satisfied with the color options, then you can also just use regular spray paint . Spray paint is an effective and easy way to spruce up your toilet because of its easy application and wide range of colors to choose from. However, if you choose to go with epoxy paint then that is all you need. But with the spray paint, you’ll also want to get a clear epoxy topcoat to help make your toilet water-resistant and long-lasting while still keeping the color intact.
Regardless of which paint you decide on, you need to ensure that the space you are working in is well-ventilated, especially if you’re using spray paint. If you choose to work inside, then it is highly recommended that you leave a window or a door open while also keeping the bathroom fan on.
It is also essential that you get a face mask for this project so that you don’t breathe in any harmful fumes. While painting a toilet may seem like a fun do-it-yourself project, it is vital that you take the required safety precautions.

Reusable Respirator Mask with 7 Filters
Check out this half-mask respirator for woodworking, welding, polishing, painting and work protection!
![]()
Now that we’ve had a word about paint, let’s dive into how you could paint a toilet in 7 easy steps!
7 EASY STEPS TO PAINT A TOILET
SUPPLIES YOU NEED TO PAINT A TOILET
Painting a toilet is an oddly specific and intensive process. Therefore, it is important that you are well acquainted with the little details of this process. Below is a short list of supplies you need before you drain your toilet and ultimately make it unavailable for the next few hours:
-
Safety equipment (eye protection and face mask)
-
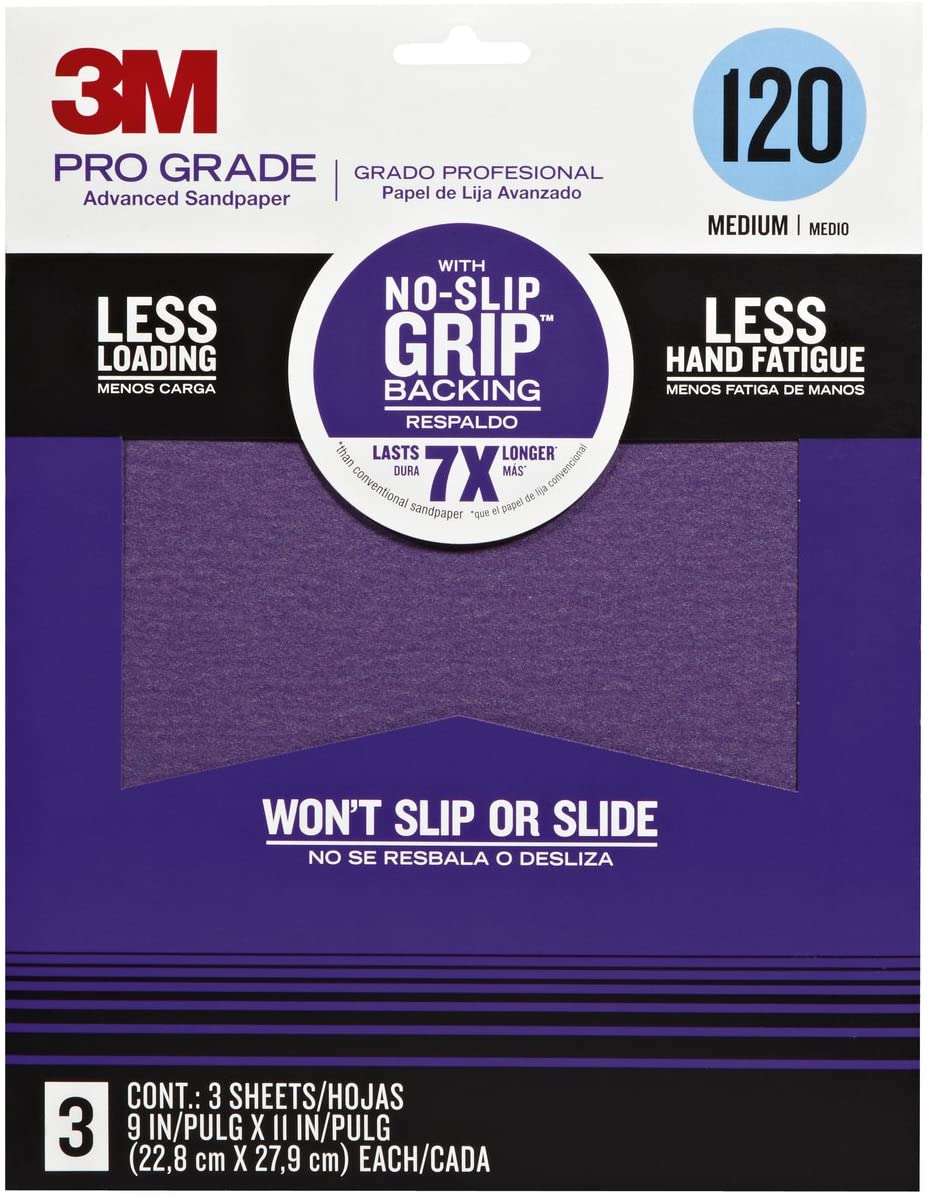
Sandpaper (120-160 grit)
-
Acrylic latex primer
-
Epoxy paint or spray paint of your desired colour
-
Painters tape
-
Plastic drop cloth (Newspaper is a good substitute)
-
Clear topcoat/sealant (if using spray paint)
Now let’s dive into the whole procedure!
STEP 1. CLEAN YOUR TOILET
Before you start the painting process, you need to give your toilet a good scrubbing because if there is any dirt on the toilet, the paint will not stick to the surface. Then you need to clean the interior and the exterior of your toilet with whatever you normally use to clean the toilet. Afterward, flush the toilet to give it a good rinse. It is important to clean the toilet before you drain it of water.
If there are any stubborn lime stains or hard water lines on your toilet, you could use some WD-40 to clean it. Firstly, spray some WD-40 into your toilet bowl, let it sit for about 15 minutes, and then use your toilet brush to scrub the stains. The stains would disappear after you flush the toilet.
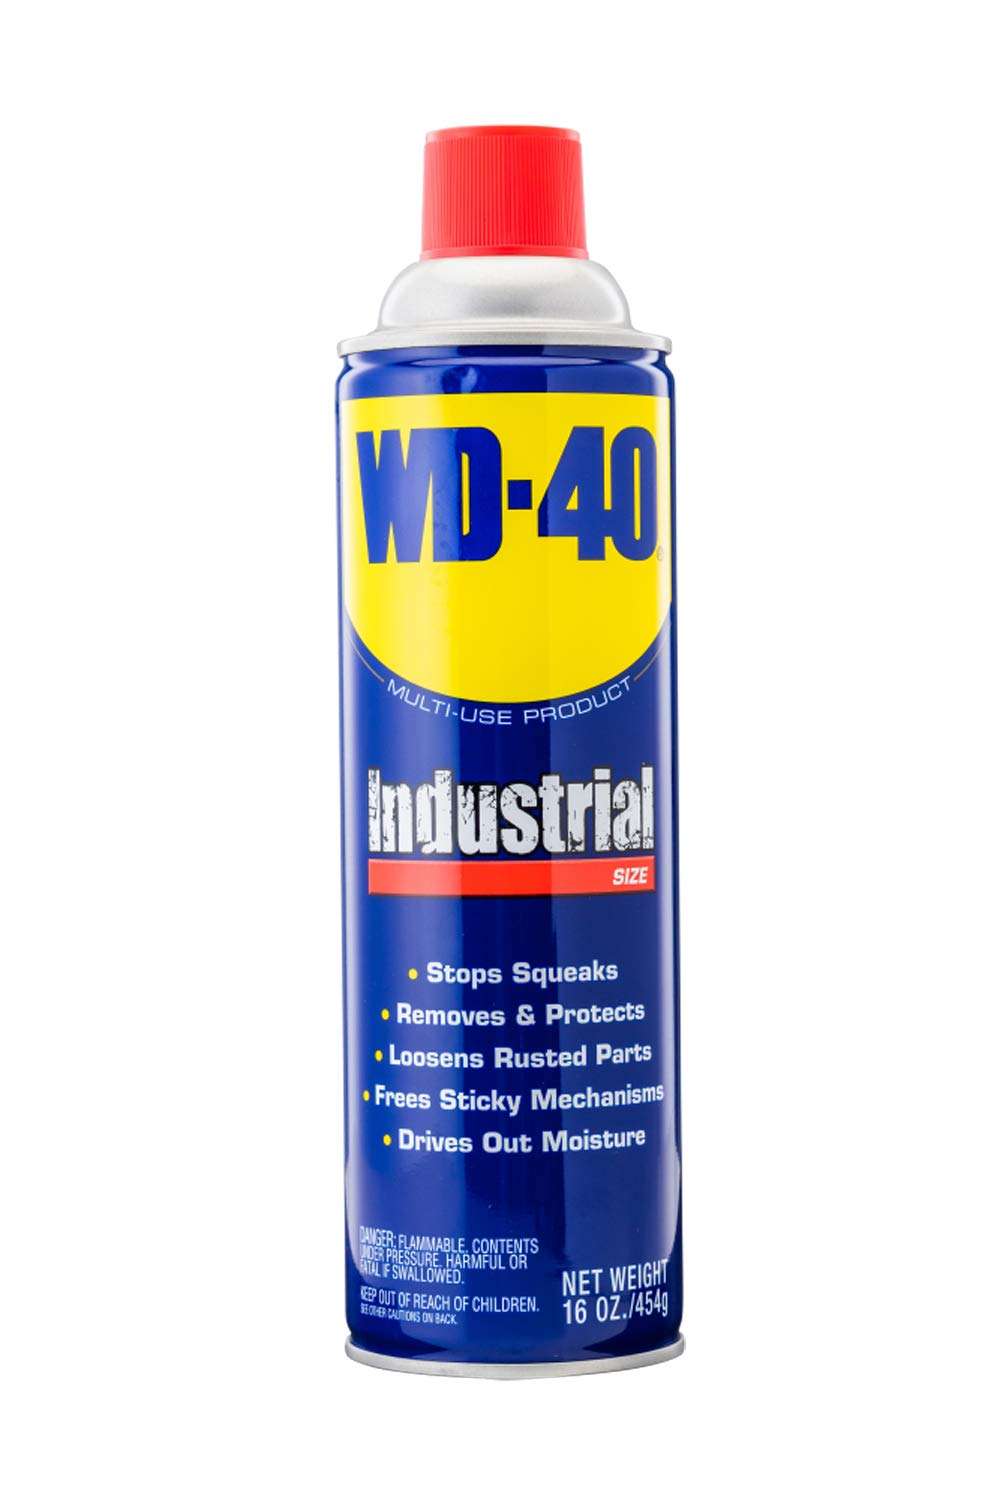
WD-40 Multi-Use Product - Multi-Purpose Lubricant Aerosol Spray
This multi-purpose lubricant helps protect your tools as you tackle big jobs. Check it out!
![]()
PRO-TIP
REMOVE YOUR TOILET SEAT WHEN YOU CLEAN THE TOILET
You can remove your toilet seat by unscrewing the bolts that hold the seat in place. You can easily do this with your fingers but if you can't, a pair of pliers can help!
STEP 2. DRAIN THE WATER
In order for the paint to stick to the surface, the toilet has to be dry. This means that you have to drain your toilet of all water. This can be done in two ways.
TURNING OFF THE WATER
The easiest way to ensure that your toilet stays dry while you paint is to shut off the water to your toilet tank.
You can do this by looking for the water hook-up that goes up to the toilet tank. There, you will find a valve that will cut off the water supply to your toilet. This will prevent your toilet tank from refiling and will keep the toilet dry during the painting procedure. Once you find the valve, shut it off.
Next, remove the lid on your toilet tank so you can see inside and flush the toilet. This will remove the water in your tank as well as in the bowl at the same time.
PRO-TIP
If flushing your toilet does not get all the water out of your toilet, try flushing it again. Repeat the process until all the water is gone. Alternatively, you could use a towel if there is only a little water left.
RAISING THE TANK FLOAT
If you can’t can’t find the toilet valve or can’t seem to shut off the water supply. Don’t worry! There is another way to keep your toilet dry.
Firstly, take the lid off the toilet tank. Inside, you’ll see something that looks like a balloon at the end of the stick. That is the tank float.
When the water level in the tank drops, so does this float. After the float drops to a certain level, it causes the water input to open and refill the tank. Therefore, you must ensure that the float does not drop. You could do this by securing the float to the top of the tank with something.
Once the float is secure, flush your toilet a couple of times to get rid of the water. This way, the tank, and the bowl will both dry up.
STEP 3. SAND YOUR TOILET
Once you have drained the toilet, the real work can begin!
The surface of a toilet is made of porcelain and no paint can stick to it unless it has been roughed up a bit. This is where the sandpaper comes in.
Grab 1 <pseudo-elem>20 - 160 grit sandpaper</pseudo-elem> and roughen the surface of your toilet so that the paint sticks to it. After you’re done sanding, you will need to clean your toilet of the porcelain dust again before priming.
WARNING!
PORCELAIN BITS MAY DAMAGE YOUR LUNGS
Small porcelain bits from sanding can enter your respiratory system and damage your lungs, therefore, it is essential to wear a face mask!
STEP 4. APPLY PRIMER
Now comes the real deal. Before priming, do ensure that the surface of the toilet is absolutely dry.
PRO-TIP
USE A HAIRDRYER OR A SPACE HEATER TO DRY THE TOILET
If you're short on time, you can use a hairdryer or a space heater to speed up the drying process.
Also remember to cover anything that you don’t want to paint with painter’s tape, plastic, or newspaper. This includes walls, floors, cabinetry, the toilet handles, the bolts that attach the toilet to the floor, and the plumbing pipes.
Alternatively, you could remove the toilet and paint it out. After you’re done preparing, the next step is fairly simple; just paint on your primer!
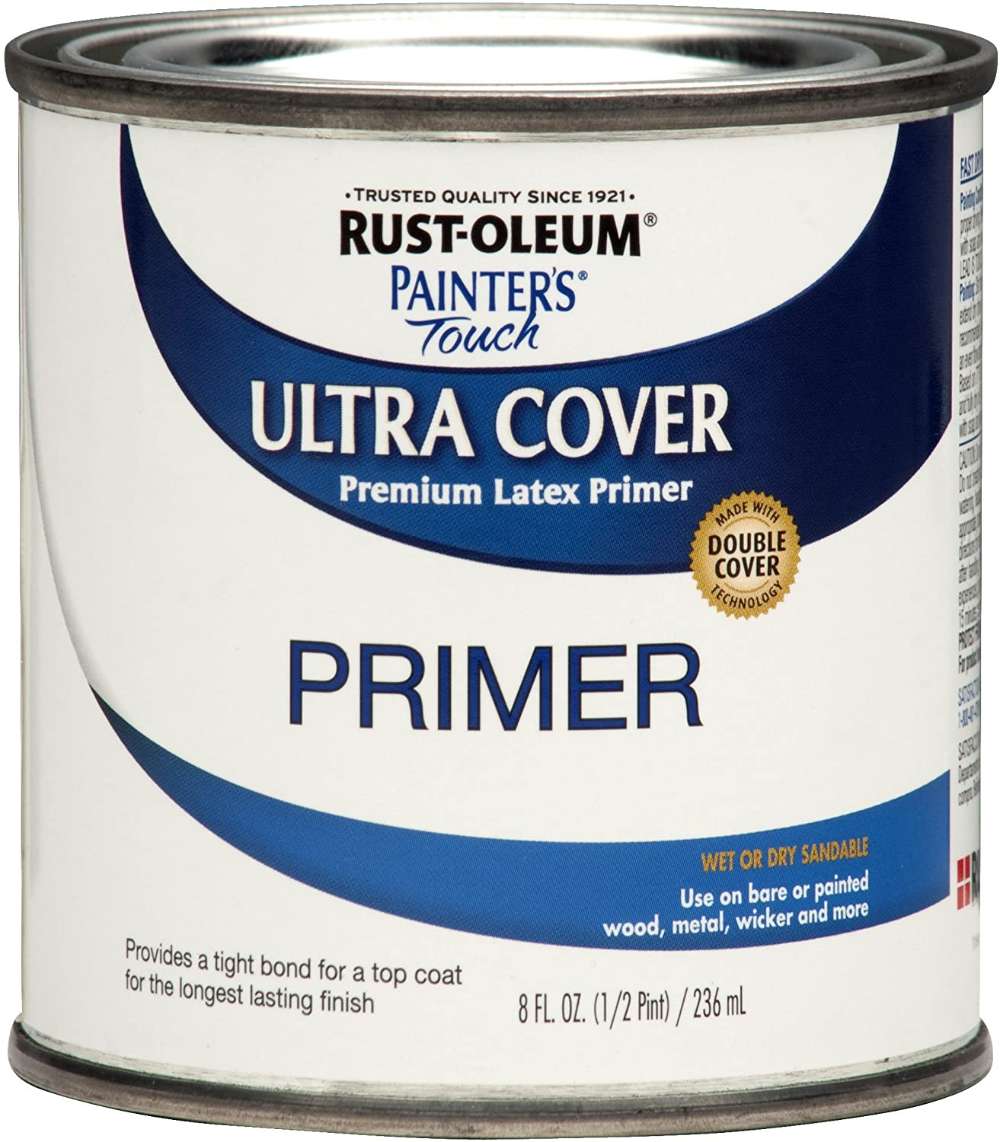
Rust-Oleum Painter's Touch Latex Primer
Grab this water-based acrylic formula that can be used for a variety of indoor and outdoor projects!
![]()
STEP 5. PAINT THE TOILET
Now that your toilet is primed and ready, it is the time to paint on the main coat. Once again, make sure that the toilet is completely dry before you start painting.
To paint your toilet, you can either choose epoxy paint or spray paint. Irrespective of what you choose, it is now the time to get started. Just like with all painting projects, you may need more than one coat of paint.
Always make sure that the previous coat is dry before applying the next coat. The paint may not stick if the previous coat is not dry!
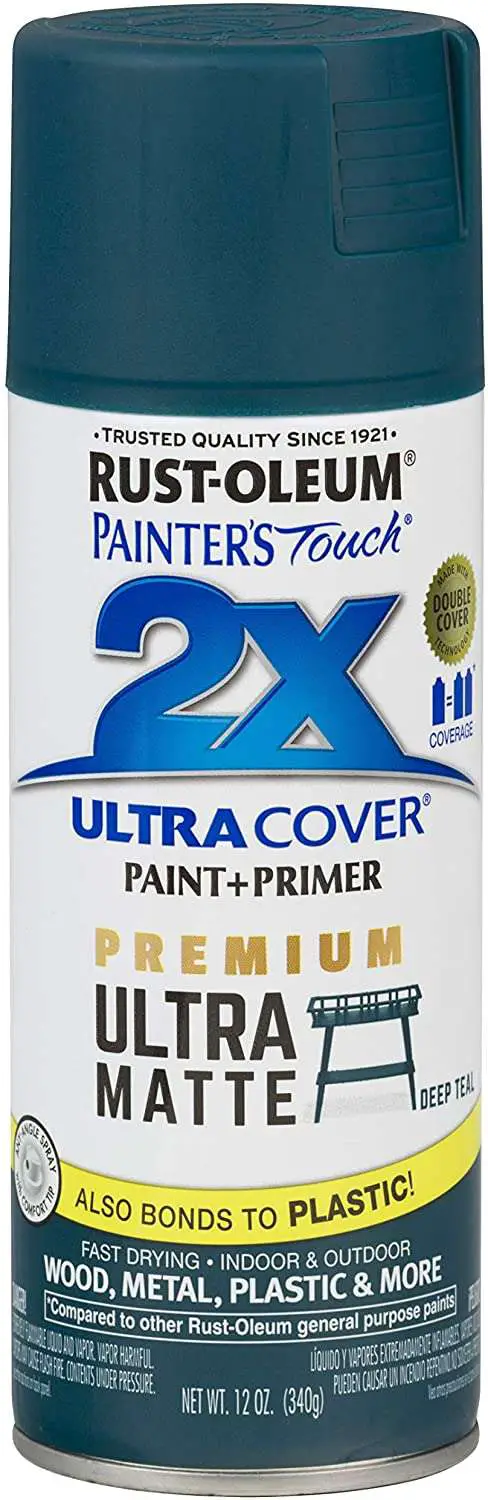
Rust-Oleum Painter's Touch 2X Cover
Check out this spray paint ideal for use on interior/exterior surfaces.
![]()
STEP 6. THE TOPCOAT
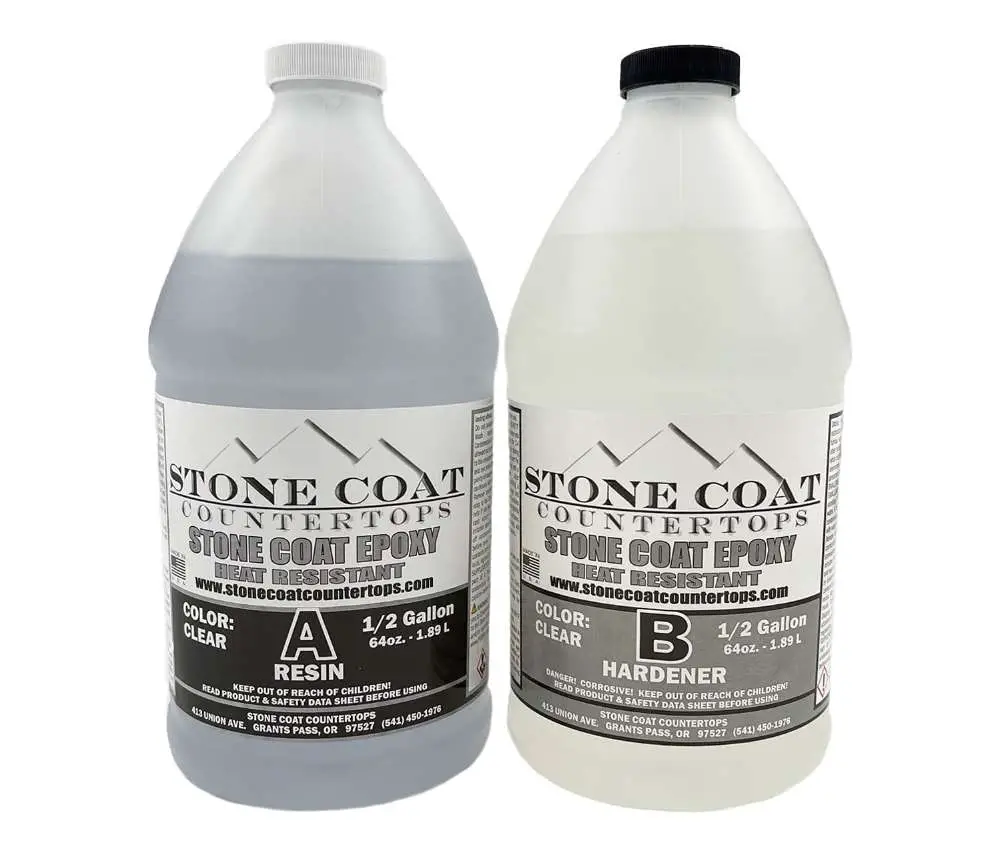
If you are using spray paint, your paint job may need a clear epoxy topcoat. This step is not entirely necessary and some people just decide to leave it out. However, a clear epoxy top coat will enhance the quality of the end.
When the rest of the work is already done, then adding an epoxy clear coat is a pretty easy step. This step will significantly increase the durability of the paint job and also add a beautiful clear finish to make it look great.
Again, ensure that the paint is absolutely dry before you apply the topcoat or a sealant. Here’s our recommendation for a great topcoat!
STEP 7. REFILL THE TOILET WITH WATER
At this point, you have turned you same-old boring toilet into a work of art!
Now there is only one thing left to do; refill the toilet tank with water, flush it, and enjoy your new looking toilet.
Remember to let the paint dry overnight or for a few hours. This is essential to the durability of your paint job!
PRO-TIP
ENSURE THAT THE PAINT IS DRY BEFORE REFILLING
Give the paint plenty of time to dry, especially if you have made use of a topcoat.
RELATED QUESTIONS
CAN YOU PAINT A STAINED TOILET BOWL?
Although you can use cleaning products to remove stains from your toilet bowl, sometimes they don’t really come out. So if you’ve tried everything and your toilet is still stained, you can repaint it!
To do this, clean your toilet and drain it of all water. Then sand it and apply an acrylic later primer to the inside of the bowl. Once it’s absolutely dry, you can paint over it using any appliance epoxy paint. In the end, just let it dry and then turn your water back on.
CAN YOU PAINT A TOILET SEAT?
Like your toilet bowl, your toilet seat can also be painted. However, painting a toilet seat depends on the material it is made out of.
To paint a porcelain toilet seat, you would have to clean it, sand it, prime it, and then paint it. For a plastic or enameled toilet seat, you can just paint it and then seal the paint with a clear epoxy topcoat.
However, we do not recommend painting a wooden toilet seat!
CONCLUSION
Painting a toilet is not at all a difficult task if you’re already used to DIY painting. But even if you’re a beginner, you can easily paint your toilet yourself by following these steps.
We recommend playing around with colors to give a new life to your bathroom. If you want to get into more do-it-yourself projects, check out this post on how to paint a light bulb!

8 Best Tutorials on How to Paint a Lightbulb (FREE!)
Have you got some spare or waste light bulbs at home? Well then, paint them using these easy-to-follow tutorials!

By Jimena & Iñigo
The Navarro-Rubios
My husband and I are learning how to draw and paint. We wanted to share this learning process with the world and have fun! That's why we created this blog. We'll have drawing contests every week and you'll decide who won that week! Follow along and learn with us!
Jimena & Iñigo
The Navarro-Rubios
My husband and I are learning how to draw and paint. We wanted to share this learning process with the world and have fun! That's why we created this blog. We'll have drawing contests every week and you'll decide who won that week! Follow along and learn with us!
Newsletter
Recommended: