Introduction
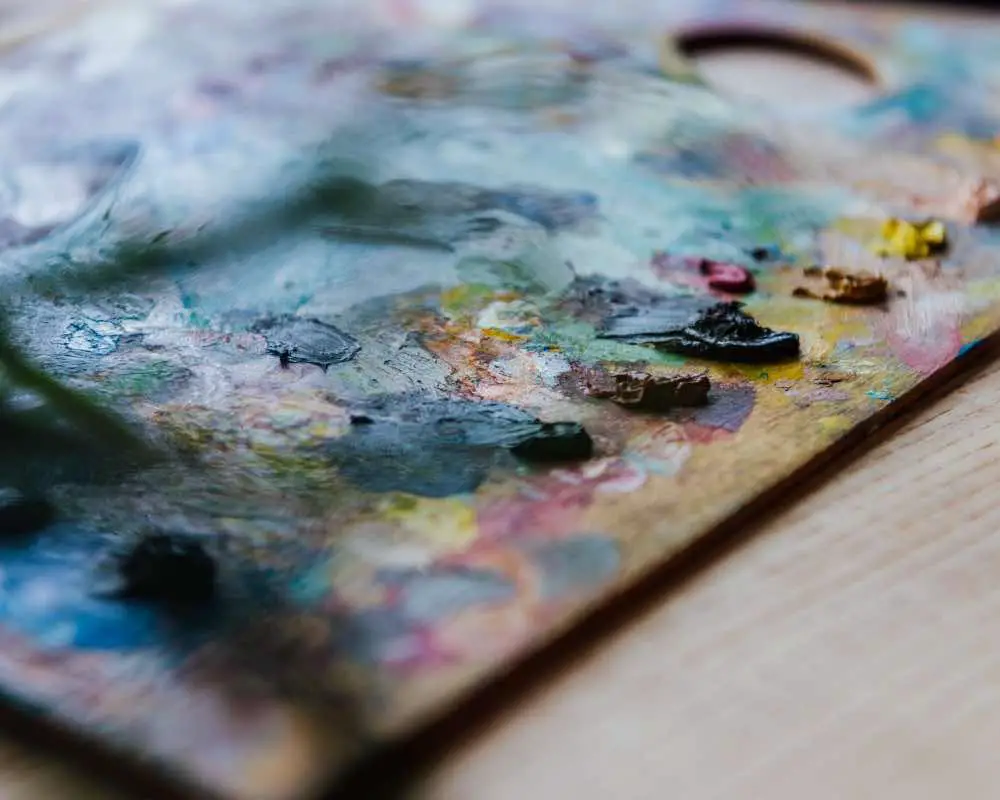
Painting could be a wonderful hobby or profession. But even if you’re great at it, you are bound to make mistakes at one point or the other. Especially when we first began oil painting, we had a difficult time managing the blending and ended up with messy artworks! And ever since, we have found using paint thinners could quite beneficial.
Paint thinners are solvents used to thin down thick layers of paint, particularly oil based media. It could be used to create both translucent layers and for removing paint. Apply the thinner solution on a clean brush, spread evenly between the hair. Follow by scraping off excess paint and re-sanding if needed.
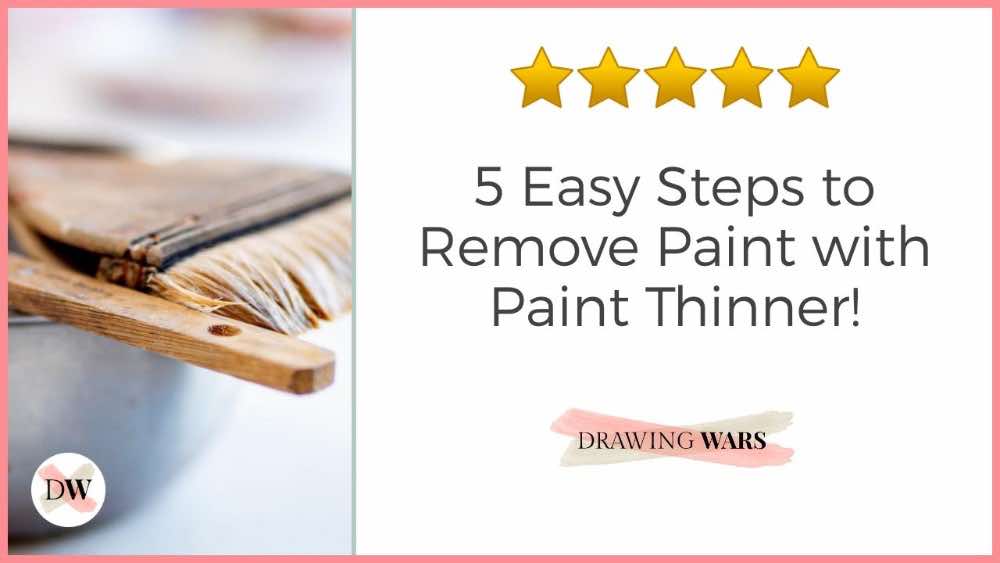
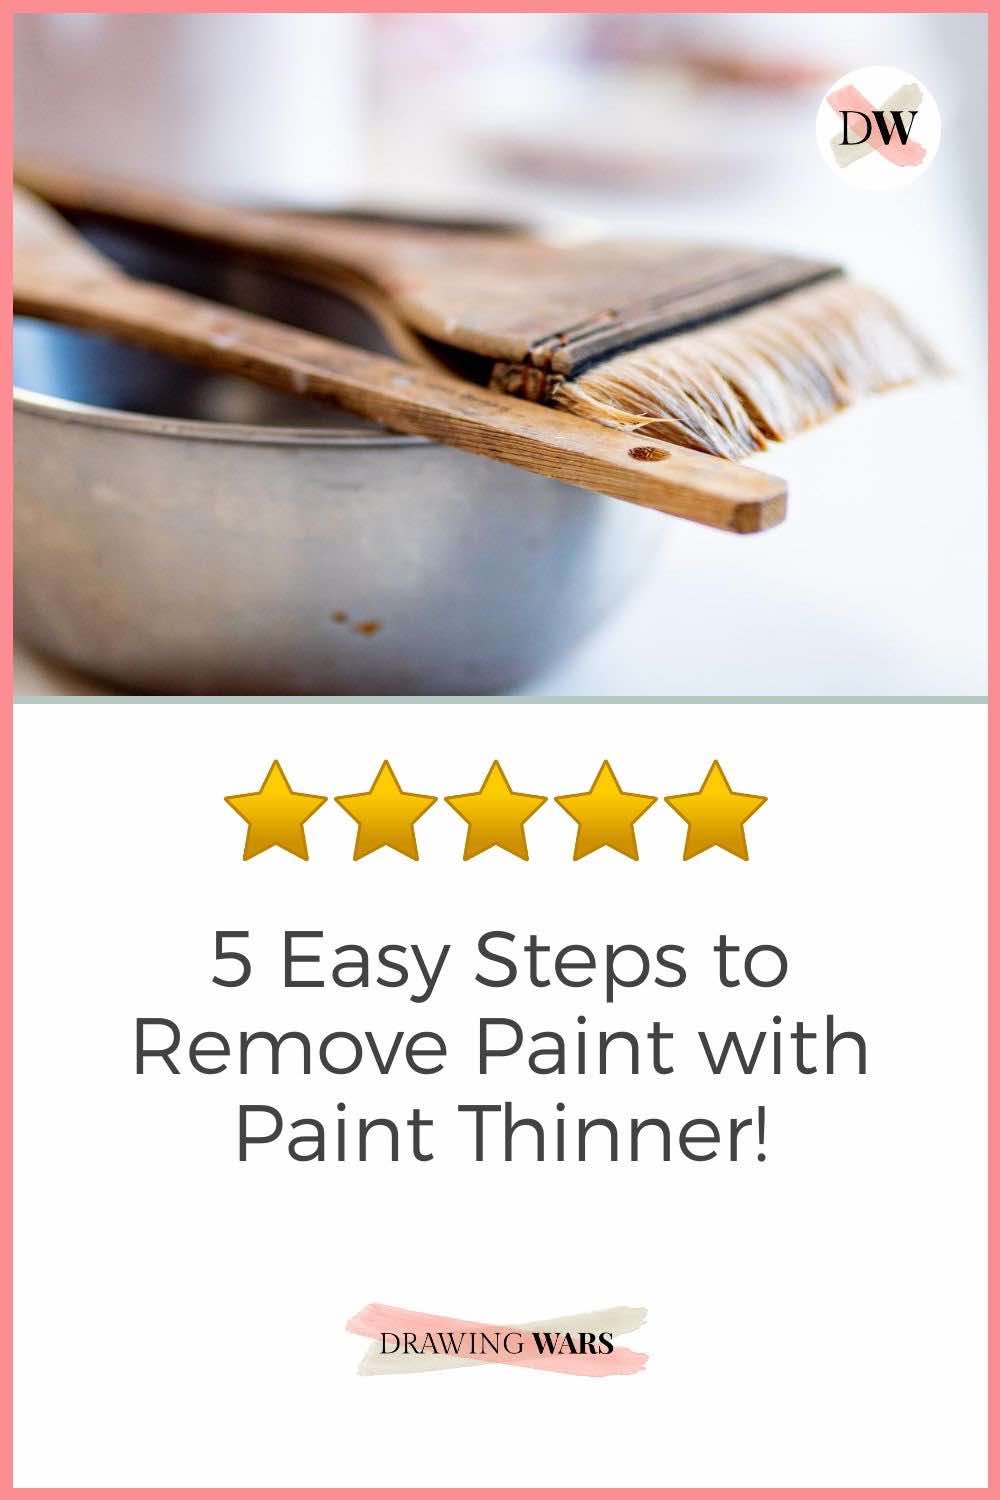
5 Steps to Remove Paint with Paint Thinner
Thanks to a paint thinner, you could let go of the fear of oil painting!
You could use a paint thinner on any strong and sturdy support. Typically, they are very good for removing paint from wood and canvas. However, with canvases, it might get trickier and you would need to be more patient with it. Since they are more fragile compared to wood, using too much of an oil-based solvent may drench it to an extent that it gets distorted.
Regardless of whether you choose a traditional paint thinner or a more modern and odourless one, we recommend you put on your gloves for the sake of safety and health before beginning with the steps below!
1. Test a small painted area
Never experiment on your painting directly with new media and methods!
Testing a separate and small piece of painted canvas or support is essential before proceeding with a paint thinner directly.
You don’t need to perform a thinner test on an expensive piece. Take a small, separate sample piece of the material that you have used for your original painting. Alternatively, you could also test on another material but remember the results of the thinner could vary from one type of art medium and support to another.
WARNING!
Paint thinner can be toxic
Are you considering getting a traditional paint thinner? Well, think again! Traditional thinners give off a lot of toxic fumes. In the long run, it could be harmful for your respiratory system and overall health.
Although the most popular choice for a paint thinner is the traditional solvent, but there are other alternatives available too. For instance, you could buy an odourless or low-odour thinner as well. From our experience, we recommend you get this one , but remember to use it in a well-ventilated space nonetheless!
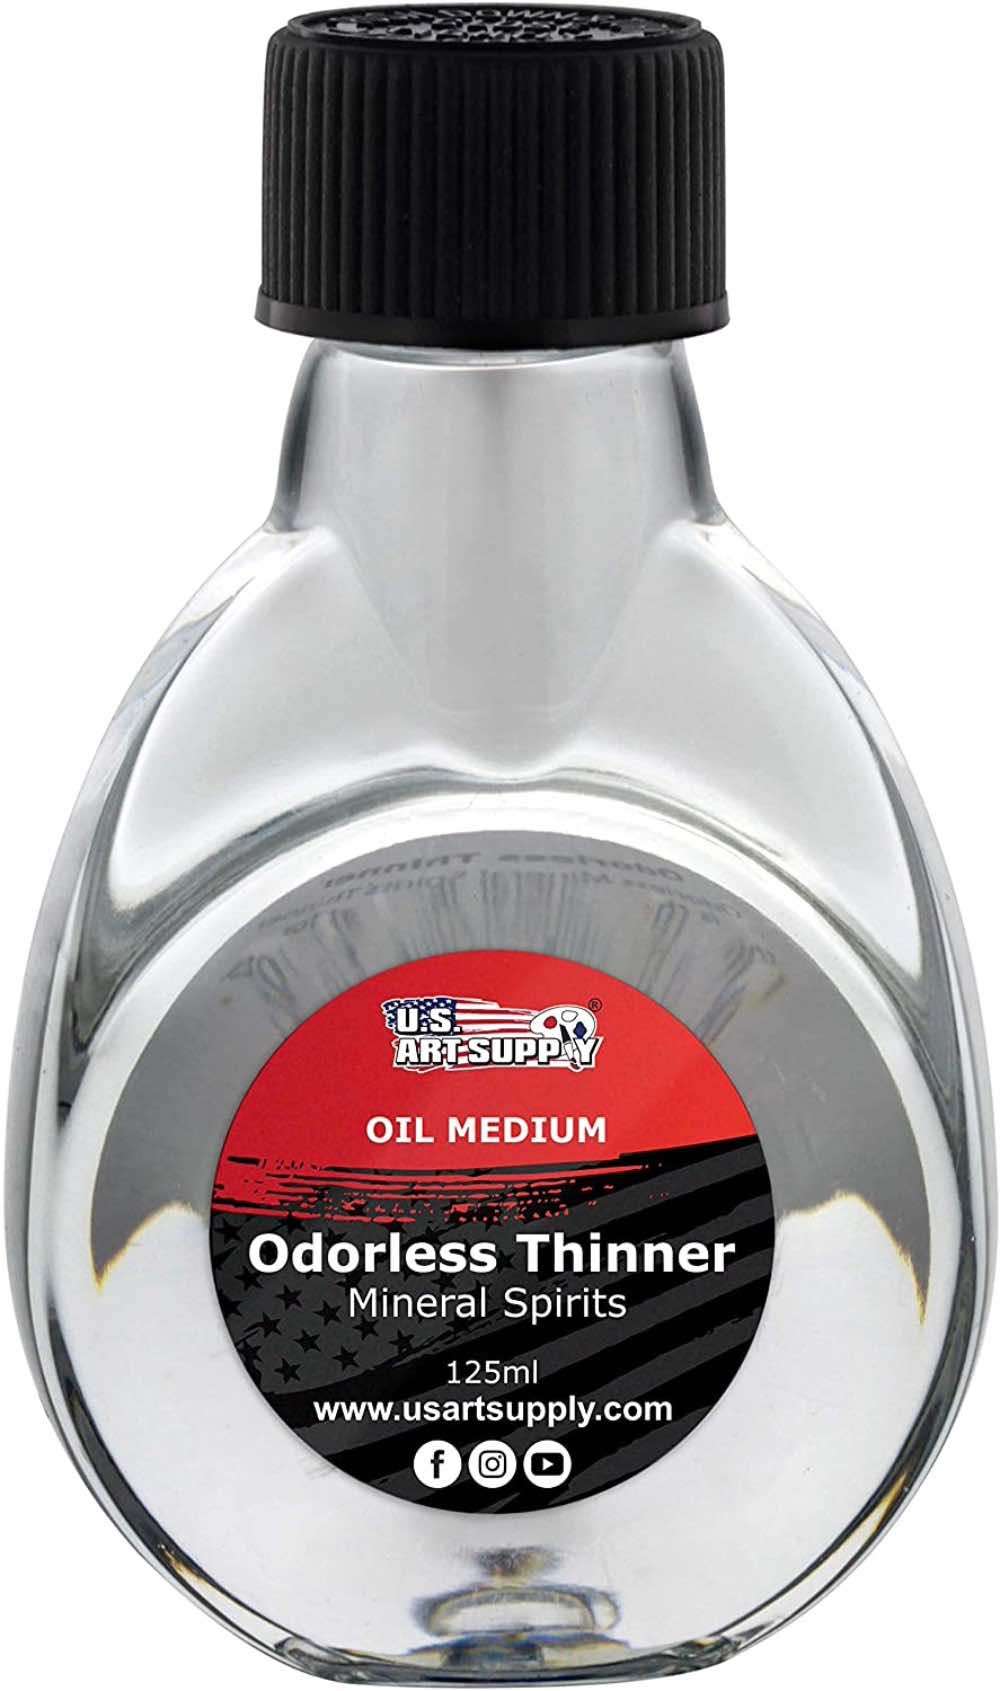
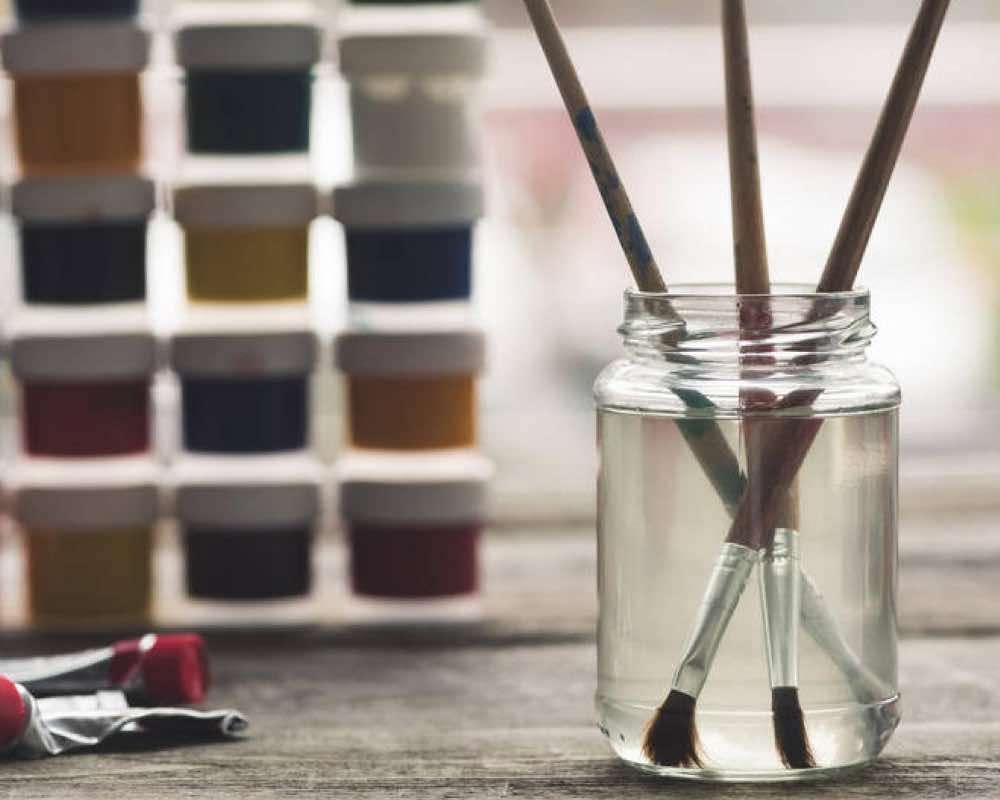
Odourless thinner (Mineral Spirit)
Use this thinner to apply translucent layers of oil paint as a technique or even to remove paint whenever you wish.
![]()
2. Have the right accessories for applying paint thinner
Never allow the paint thinner to come in contact with your skin!
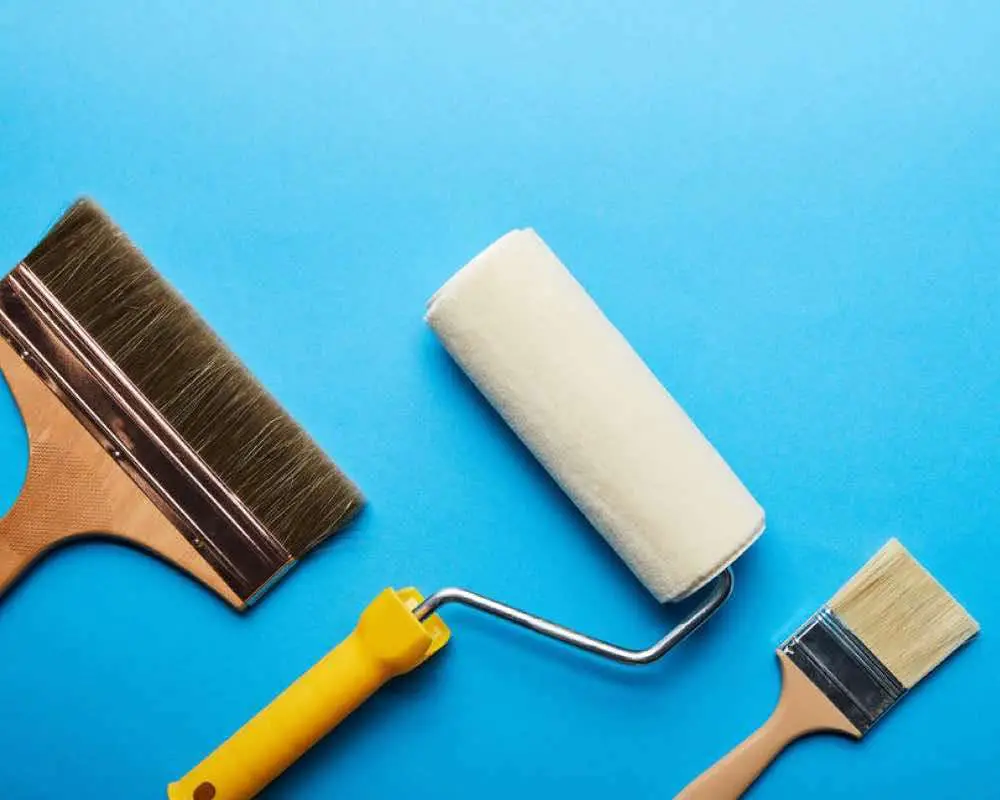
Paint thinner could be applied easily using a clean brush of an appropriate size or even a roller.
Do not pick old dirty brushes or rollers to apply the thinner! If there’s already paint on the tools, the thinner will cause it to decompose and it would stick onto the support, causing you more trouble than good.
PRO-TIP
use the thinner to clean the tools
If you're thinking of using an old brush or tool, clean it thoroughly with the paint thinner. Simply take out some of the solvent in a container and immerse the tools for a while. Paint particles and other impurities will wash away by themselves.
3. Tone-down the strength of the paint thinner
What if the paint thinner is too strong for the support you intend to use it on?
Adding natural ingredients can tone down the strength of the paint thinner for more fragile and less sturdier painting supports.
If you’re using a traditional thinner, especially one that has been made for wall paints, you could consider mixing a few substances in it to make it safer and easier to handle. First things first, you could also dilute the solution by adding more water. But this is only in the case for water-based paint thinners. For paint thinners that are oil-based solvents, you could use vegetable oil to tone down the strength.
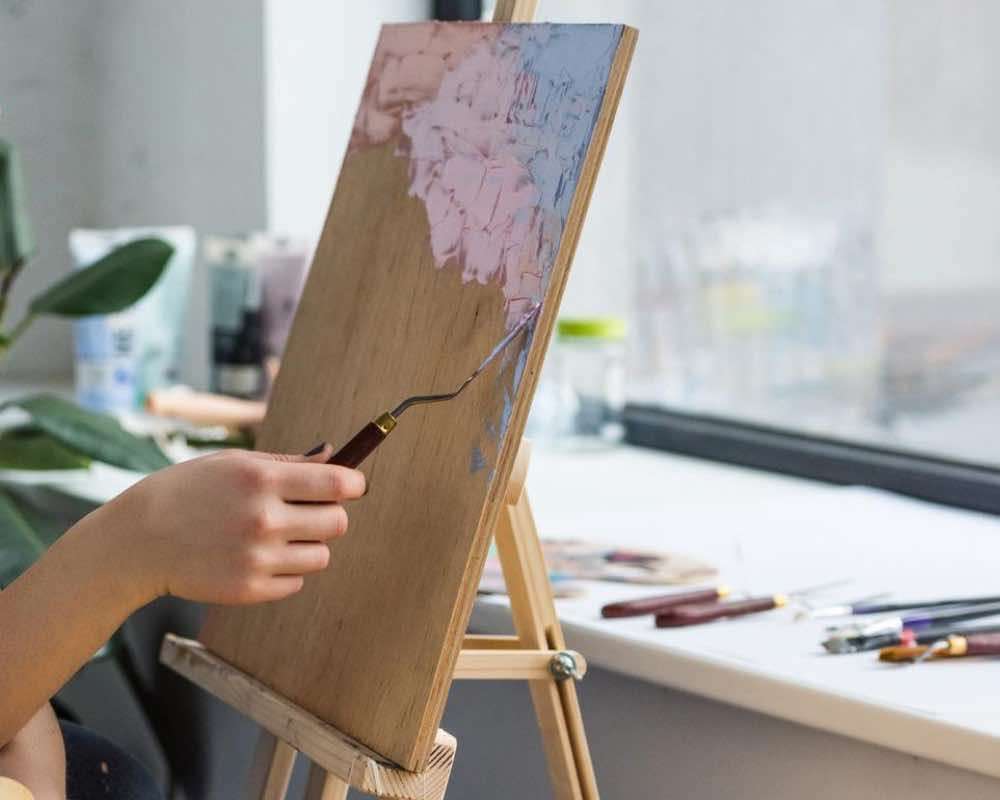
4. Apply the thinner
Apart from the thinner, your support should be dust-free too!
The painting area to be cleaned should be free of impurities and dust.
First things first, if there’s dust on your painting, use a clean cloth to make sure your artwork is spotless once again. Remember not to mist the painting or soak the cloth in water, it could ruin your art in an instant! Using a clean brush, take some thinner solution that is spread evenly between the hair. Then apply it using the amount of pressure you find relevant for the painting in concern.
PRO-TIP
For thicker paintings
Do you have a painting with thick textures and layers? In that case, you could use a scraper to remove the excessive layers of paint first. Then you could proceed with using a paint thinner for removing the original and thinnest paint layer on the support.
5. Repeat the process and sand the surface
Remove the excessive paint with a knife and smoothen the surface.
Sanding can be done with steel wool or repetitively with a heavy grit sandpaper.
Using a thinner is just one part of the process. For thicker paintings, you may find that the layers are too many to remove simply by thinning. Use a knife or a sandpaper with great grit to remove the upper layers, then proceed using the thinner.
If you want to reuse the support, you can simply apply layers of gesso after you’re done removing the paint and cleaning the surface.
Conclusion
So if you’ve been struggling with removing oil paint or fixing your mistakes in an oil painting, you could use a paint thinner. Always start by testing a piece, especially if you’re using a thinner for the first time. To apply the paint thinner, take a bit out of the container and use a roller or a brush that’s appropriate for the size of the painting or portion of the paint you’d like to remove.
And remember, if you have allergies and you’re highly sensitive to odour, we suggest you use an odourless thinner instead of a traditional one. Regardless of the choice of thinner, make sure the area is well-ventilated as the fumes from the solvent could affect anyone. If you want to learn more painting hacks, don’t miss out reading this post on the edibility of paints.
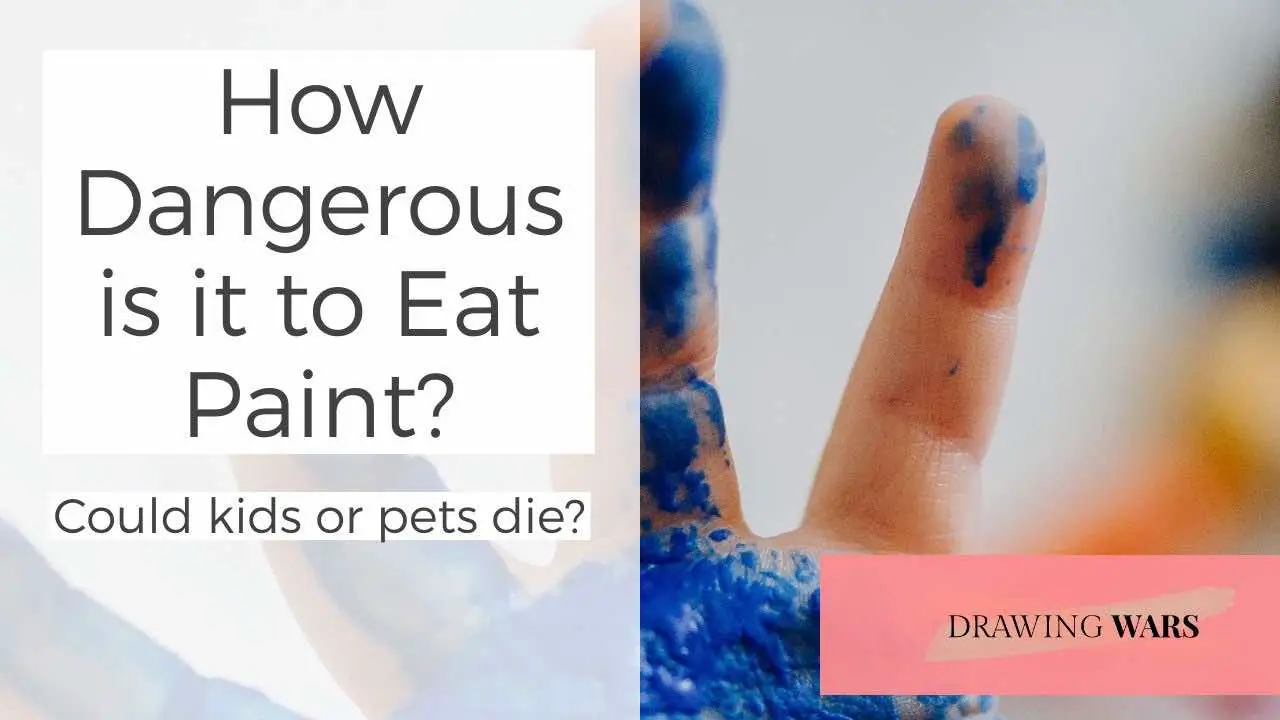
How Dangerous is it to Eat Paint? Could kids or pets die?
Is painting really as safe an activity as it is pleasurable? Could you always be sure that your kids and pets are safe around paint?

By Jimena & Iñigo
The Navarro-Rubios
My husband and I are learning how to draw and paint. We wanted to share this learning process with the world and have fun! That's why we created this blog. We'll have drawing contests every week and you'll decide who won that week! Follow along and learn with us!
Jimena & Iñigo
The Navarro-Rubios
My husband and I are learning how to draw and paint. We wanted to share this learning process with the world and have fun! That's why we created this blog. We'll have drawing contests every week and you'll decide who won that week! Follow along and learn with us!
Newsletter
Recommended: